

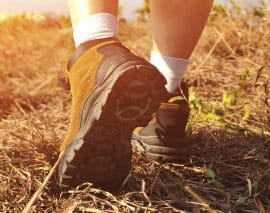
Hiking is fun, good exercise and healthy. At the same time, the long distances can be particularly stressful for your feet. As a result, skin irritations and blisters may form due to pressure and friction. But hikers can prevent unwanted annoyances with this handy guide to preventing blisters while hiking. For more information on blisters click here.
How do hiking blisters form?
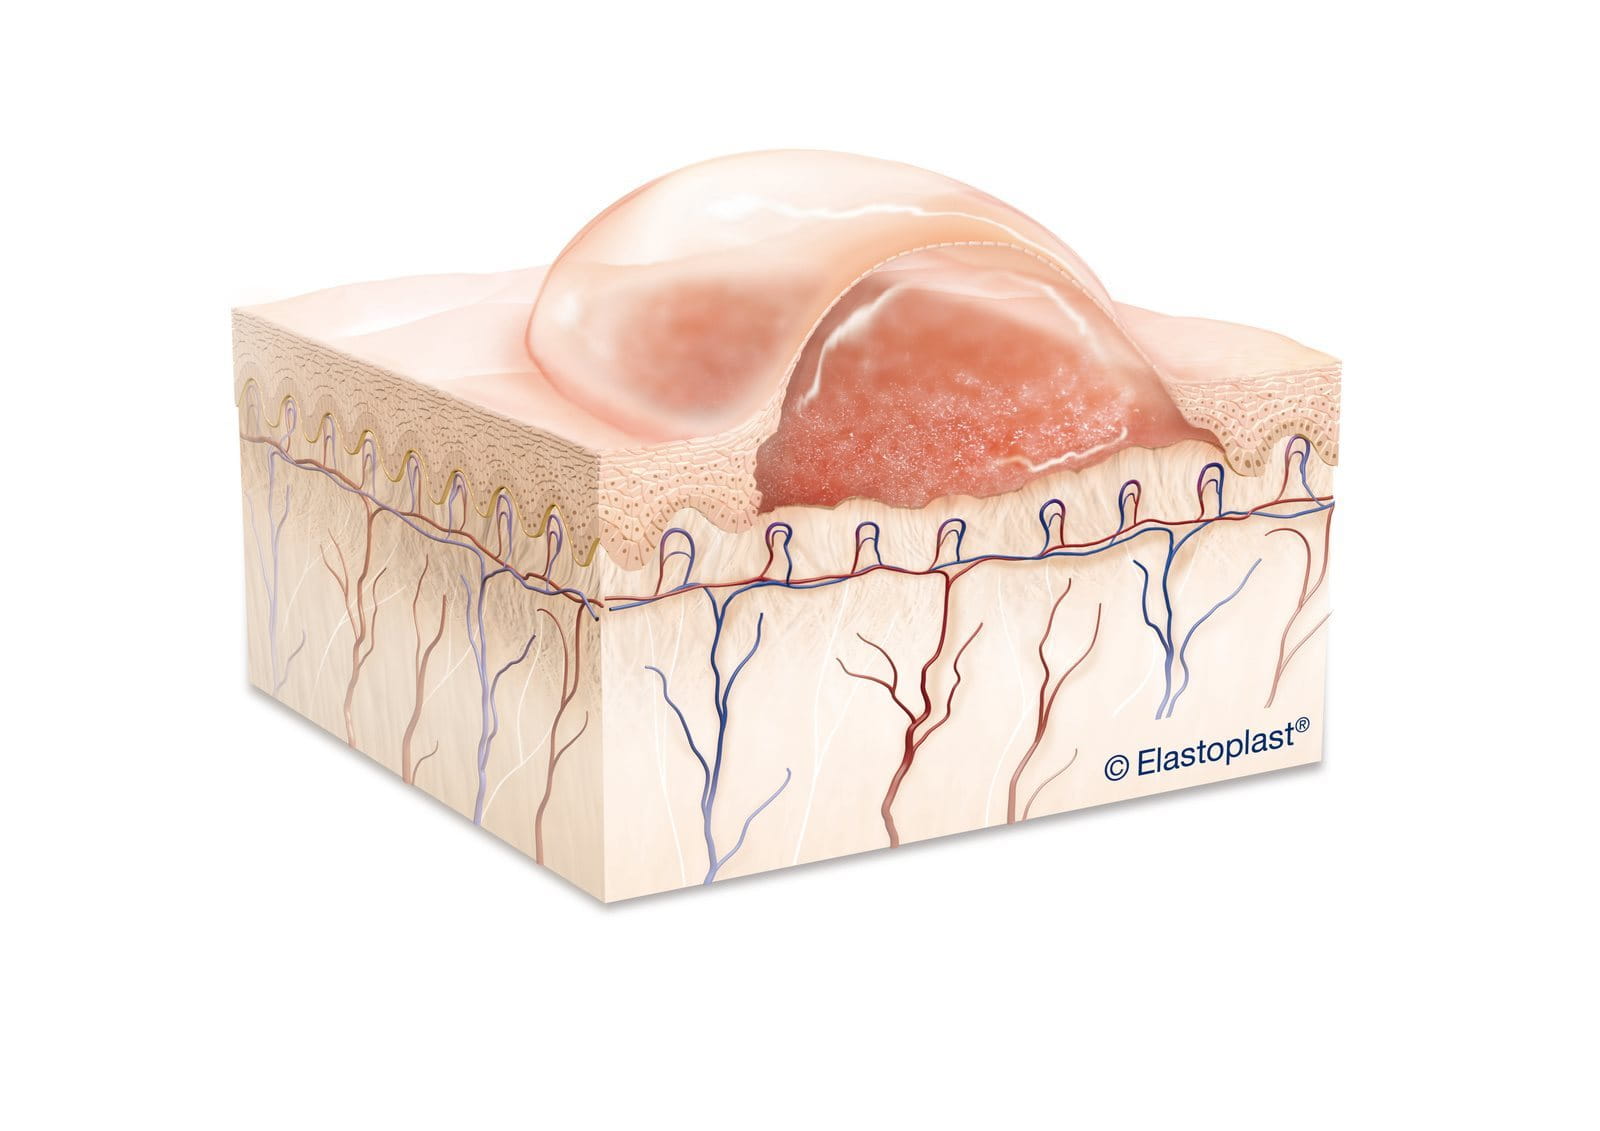
During a hike, your boots and socks rub against the outer skin layer on your feet, which leads to separation from the lower skin layers. This is referred to as the “hot spot”.
Repetitive rubbing results in the formation of a blister containing tissue fluid, which is supposed to cushion the wound from further pressure. When blood vessels break, the blister may contain blood causing a blood blister. While they may be painful and annoying, blisters are a clever self-protective measure of your body.
Blisters commonly form in areas where heat or moisture irritate the skin by causing pressure or friction. Here are some common causes of hiking blisters:
- New hiking boots that don't fit properly
- Sweat
- Wet feet from rain or crossing rivers
- Tight areas in your hiking boots
- Wrinkles in your socks
Checklist for hikers

Aside from the usual water, compass and other provisions you should have with you, it’s important to take along items that will protect your foot skin against blisters.
Dr Maike Kuhlmann from Elastoplast Research and Development recommends: “Hikers should always remember to pack blister plasters and an extra pair of socks.” It is also important to bring a first-aid bandage tape to secure dressings and Elastoplast Wound Spray to clean open blisters.
Wearing the right hiking shoes
Proper footwear is also extremely important for a happy hiking trip. Dr Kuhlmann says: “Normal trainers or all-round boots are not suitable. They’re often too soft and don’t provide the necessary support during periods of extreme stress.”
Adequate hiking shoes extend above the ankle or are manufactured in mid-height styles. They either have an extremely hard sole for multi-day journeys through the mountains or a softer sole for shorter, easier trips.
Follow these tips to ensure you choose the best hiking shoes before you set out on your trip:
- Avoid boots that are too tight: Your feet need some wriggle room to account for any swelling during the day.
- Make sure the boots aren't too big: Test the shoes on an incline and decline. Ensure your toes don't touch the front of your boots when walking downhill, and see if your heels stay in the same place going uphill. Supportive insoles will prevent your foot from moving inside your boot.
- Break your boots in: Wear your new shoes (and hiking socks) around the house, garden or on a short walk before your hiking trip. This gives your skin time to toughen, so it can act as natural padding against friction, while the shoes then soften.
Blister prevention
While choosing the right pair of hiking boots is a good way to avoid hiking blisters, there are a number of other blister prevention tips to follow:
- Trim your toenails: Before you set off, ensure you've clipped your toenails to prevent pressure in the front of your boots.
- Wear the correct socks: Avoid cotton socks, as they retain moisture close to your skin - increasing the chances of a blister developing. Experiment with a thin, sweat-wicking pair underneath thicker, wooly socks.
- Avoid sweaty feet: Consider changing into a new pair of sweat-wicking socks halfway through the day to keep your feet dry. Then you can hang the damp pair off the back of your rucksack so they can dry.
- Rinse your feet: Dip your feet into a river or running water to soothe tired toes and sore feet. Dirty feet increase the likelihood of infected blisters.
- Take care of your feet: When possible, give yourself a foot massage. Also, keep your boots free of rocks or debris from the trail.
- Try taping your heels: If you're prone to heel blisters, try covering them with adhesive tape for the first day or two of a multi-day hike.
How to treat a blister on your hike


If a blister does form, despite taking preventive measures, it’s important to act quickly when you feel the “hot spot” forming. According to Dr Kuhlmann: “You should immediately take a break at the first sign of burning or pressure and take off your shoes as quickly as possible”.
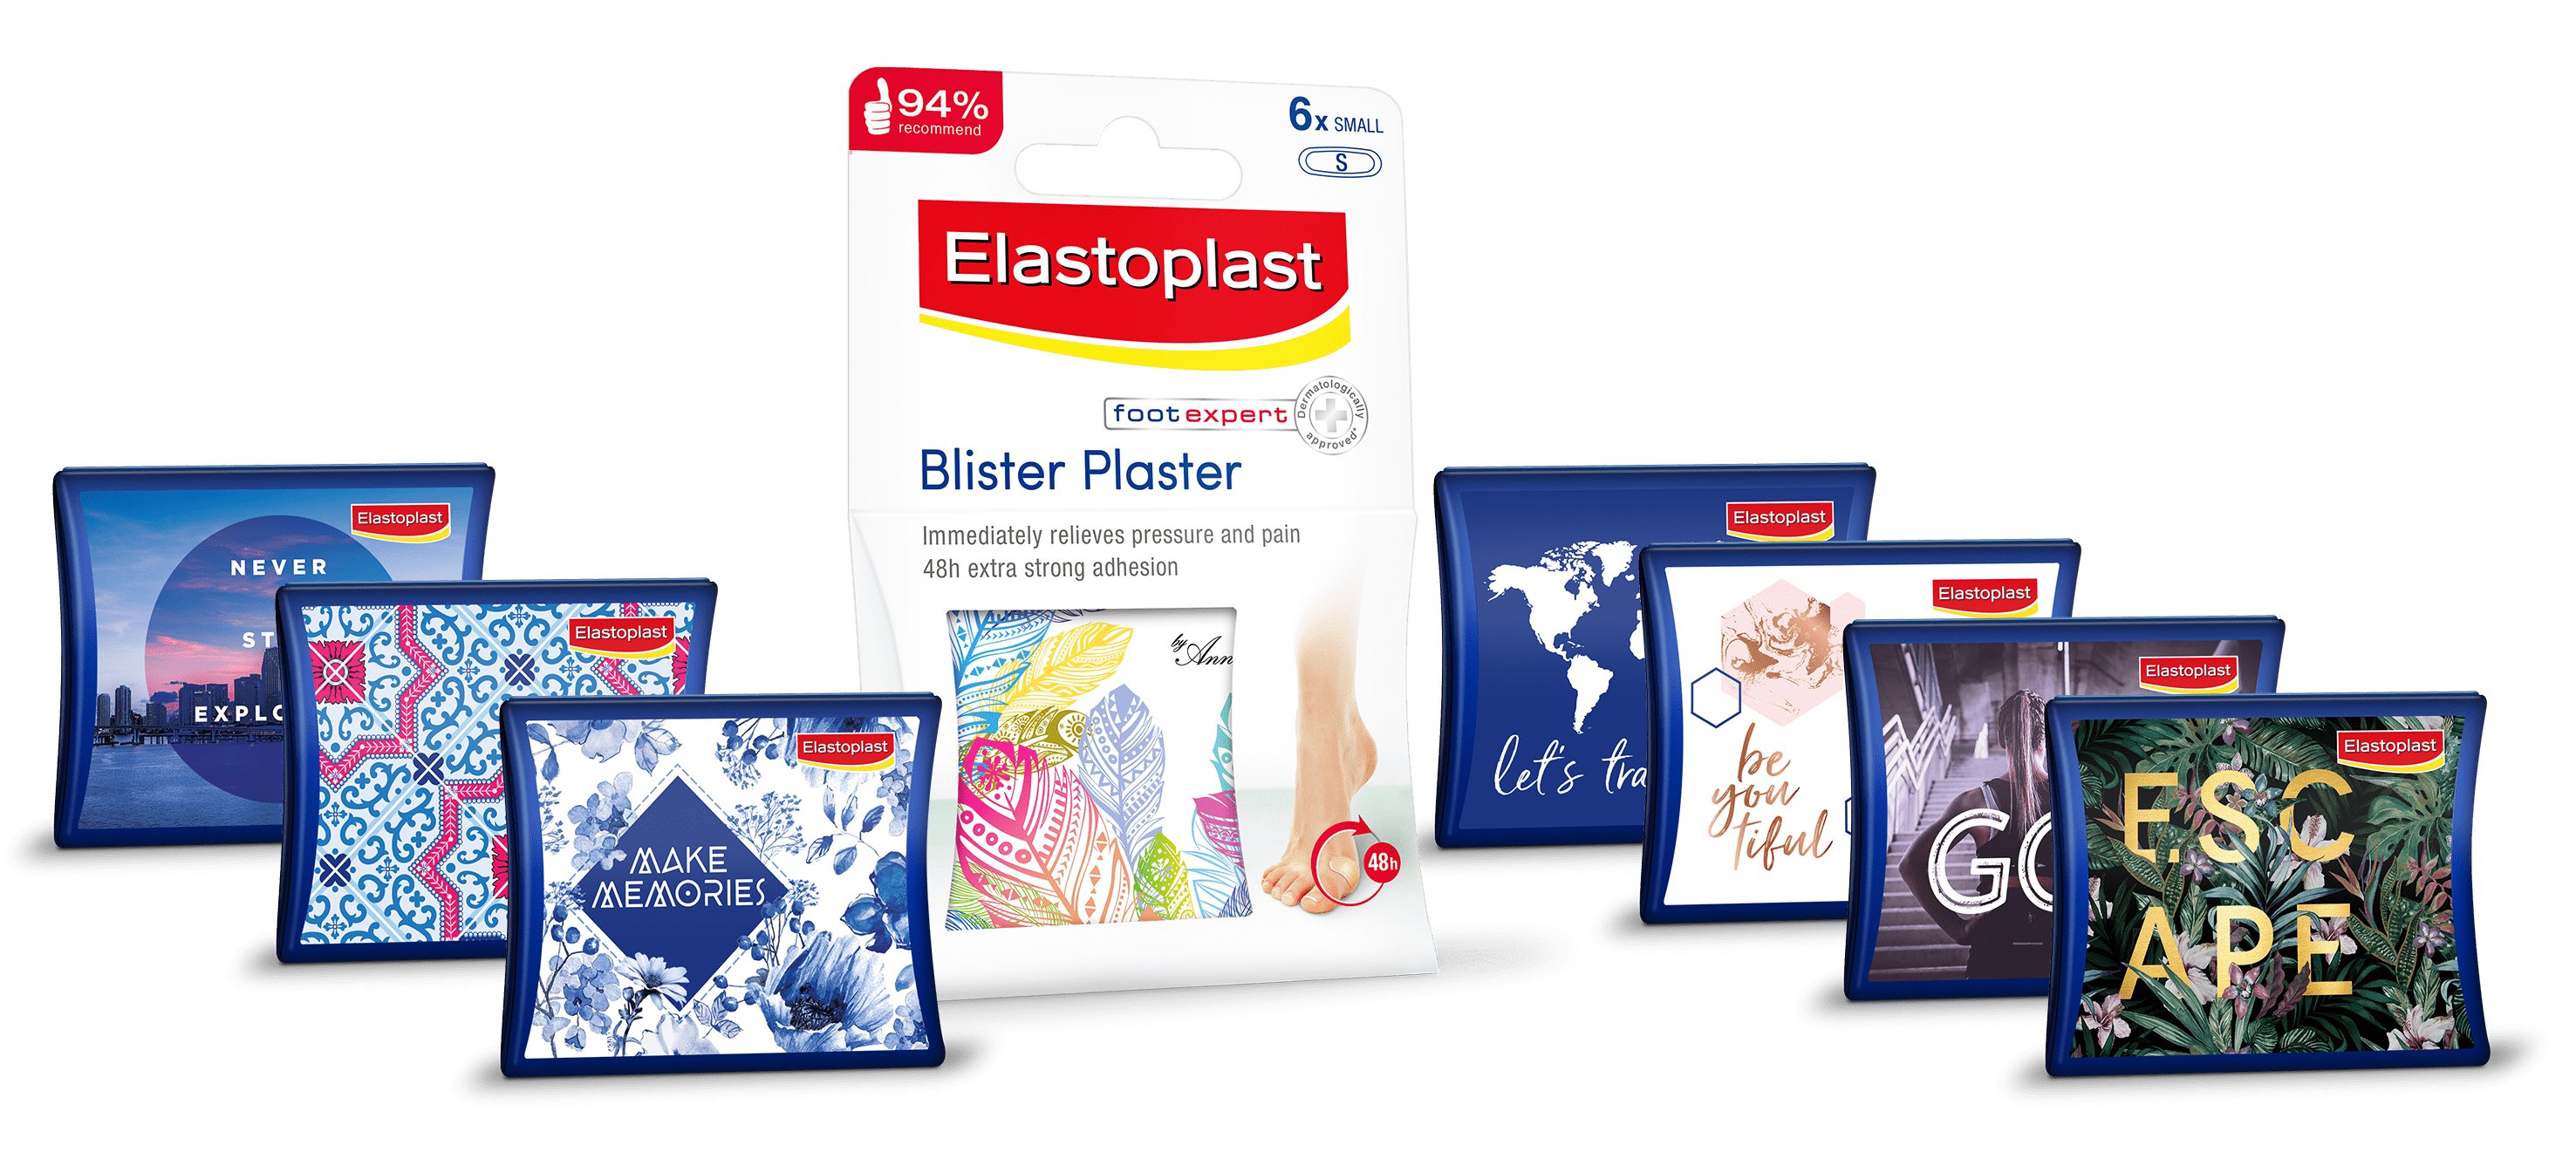
She advises: “First dry your skin and then cushion the sore spot, blister or wound. The Elastoplast Blister Plaster is perfect for this kind of job. These plasters immediately protect the affected area and promote wound healing thanks to the Active Gel Cushion. Through the high level of adhesion and extreme flexibility, as well as the robust, protective surface, they are also extremely comfortable to wear.
Other solutions include changing your socks (especially if they’re sweaty), taping the area with adhesive tape and applying a lubricant to reduce friction. It's also useful to carry a blister-care kit with you, including alcohol wipes, tweezers and a small pair of scissors.
Should you pop a blister?
Blisters normally heal within a few days and are usually best left alone, so the short answer is no - you shouldn't pop a blister. However, if you have a very large or painful blister then draining it may be the only way to carry on hiking - especially on longer trips.
Follow these steps to safely pop your blister so you can carry on enjoying your hike:
- Wash your hands and gently clean the surface of the blister with antiseptic wipes or the Elastoplast Wound Spray.
- Sterilise a thin needle with boiling hot water or a flame.
- Carefully puncture the blister with one or two small holes around the edge, gently massaging the fluid out. White or yellow pus can indicate an infected blister, which may require medical attention.
- Leave the skin over a broken blister intact - this acts as a protective cover for the new skin underneath. Apply the Elastoplast Wound Healing Ointment to the blister.
- Tightly cover with an Elastoplast Blister Plaster or small dressing.
Elastoplast products for your hike
If you’re planning a hiking trip, you should take a moment to learn more about these Elastoplast products designed to prevent and treat blisters. If you already have a blister, reduce the pain from pressure and protect the blister with an Elastoplast Blister Plaster.
Elastoplast Wound Spray is an easy to use spray for the antiseptic cleansing of open blisters by mechanical irrigation, which is the physical removal of dirt and harmful bacteria. Elastoplast Classic Fixation Tape can secure dressings and also reduce friction between hiking shoes or socks and the skin.
For further information about Elastoplast products, please contact us at consumer.relations.uk@beiersdorf.com
Please note that none of the above tips replace professional medical advice. Consult a health professional if our tips do not help or if you have (or suspect you have) a medical condition.
Please read the instructions for use given in our product packaging with care.
Please note that none of the above tips replace professional medical advice. Consult a health professional if our tips do not help or if you have (or suspect you have) a medical condition.
Please read the instructions for use given in our product packaging with care.